Well, heady from our first successful mission in the Imperial Car Destroyer, it was time to make some real progress on the vehicle once more. I had spent my last several sessions getting the cabin ready for some real transformative magic to take place, and the time was ripe. I had shed blood, sweat and tears getting the Foam from Hell off the walls, I had already removed the data plates, and I had installed a Super Pack of DynaMat to the various exposed body plates. The time was ripe for some good ól fashioned Beautification.


So I jumped right into it and instantly started... doing some more prep work. Apparently if you are going to paint anything at all, you need to spend about 90% of your time on the prep, and the actual painting is kind of an after thought, tacked on at the end. I knew this going into this project, it just always surprises me how much time it takes. There was nothing else to it though, so I pulled out some junk mail (those damn annoying special deal on food from your local Big Name Grocery Store mini news papers) and put them to good use - masking off my windows. I then went through and added masking tape over all of the instruments gauges as well, and over other things like the air horn button in the center of the steering wheel, and of course my air filter indicator at the bottom of the steering column.
 |
| Low Tech Black Out Ads |
 |
| Leaky Front Axle Boot on the Passenger Side |
It was sometime during this process that I crawled under vehicle for some reason. It was then that I noticed I was leaking yucky Green Gobs of Goo (the deadly 3Gs) from my front passenger wheel. There is a rubber boot that protects the steering knuckle just on the inside of the wheels, and it looks like mine had sprung a leak. Not too surprising really, since this truck had most likely sat on some lonely airfield for the last decade or so waiting for something, anything to happen. The tiny bit of driving around it has gotten to do with Captain Yarrow behind the wheel was probably more than it has seen in years. Anyways, I noted this, and moved on, as it wasn't my project for that day. For those of you that are interested, I looked this up on Steel Soldiers later, and cross referenced it with the TMs, and it looks like my Front Axle Boot is toast, and will need replacing. They come in two varieties, one which is a zippered boot, that does not require you to remove the entire wheel, and a more durable fully enclosed boot, that does require the entire wheel to come off in order to be installed. Both options have their advantages (and disadvantages), one is quick(er) and easier to do, the other gives me a chance to rebuild my front suspension, check out my front brakes, replace some bearing seals, and deal with any other lurking problems I may have down there. It is also a MUCH bigger job. However, that is a problem for some future day, so I just snapped a few pictures, and moved on.

So, I fired up my air compressor once more, let it fill the tank to 120 PSI, and adjusted the regulator to 40 PSI, which is appropriate for my HVLP spray gun, and started mixing the paint. As I had bought two gallons of the Silver Mist grey for the interior of the van body, and barely used 2/3rds of one gallon, I figured I should go ahead and use that. My basic plan is to have the interior be one basic color for the under coat, and the exterior one other basic color. I went with light grey on the inside, and a darker grey on the outside (picked out, but not purchased yet). So, loading up the paint gun, I got to work. Something should be mentioned about paint guns. They have a few major adjustments, one for spray pattern, and one for air flow. Screwing with both of these knobs will get you the eventual pattern and flow you want, but neither is as important as this one thing. Scrape off the end of your spray gun where the paint actually exits. This may sound trivial, or obvious, but trust me, it's easy to forget. And if there's even a little bit of dried on paint clogging something, it can seriously slow you down and make your paint gun seem pretty anemic. Take it from a guy that found out the hard way. Check that shit.
It had gotten dark by that point, so I decided to pack it in for the day, because painting in the dark is not very productive (read - stupid) and it was time to spend some time with my family. I washed out the paint gun, put away my tools, and closed the doors to the cab to let it dry over night. I would have loved to have had a beautiful, fully enclosed work area for the truck, but short of a full vehicle bay, my front drive way would just have to do. Anyways, how else was I supposed to meet all of the neighbors and continue my Imperial Outreach program? Luckily for me, this so called "Winter" has been more of a summer, and it not only didn't rain, but it was mostly clear with very little moisture in the air. When I checked on stuff in the morning, it looked just fine. Sure, I had missed a bunch of spots (painting in the dusk, tsk tsk tsk) but it looked essentially okay.
 |
| Cabin Interior the next day. Yes, I painted the steering wheel... |
Loading paint back up in the spray gun, making sure my nozzles were all cleared and clean this time, I proceeded to add a second coat over my efforts from yesterday. This time things went fairly quickly. It was a beautiful sunny day, and even though it was a little windy, it didn't seem to effect things too greatly. I made fast progress, paying special attention to areas I had previously put too thin a coat on, or had simply missed. I also covered the canvas seats with trash bags and did my best to paint the chairs support members as well. I missed a few spots, but mostly got it. Professional paint job this was not, but it looked a hell of a lot better than it had been. Now, before I go into detail about some of the things I perhaps did a little wrong in my over zealousness to fix up the cabin, let me remind you that it was my overall goal to cover up and transform the rusty, dusty, grime filled interior into something else entirely, and if I may have or may not have gotten a little carried away with the glorious power of a paint gun, who can really blame me? Right? Right?
 |
Wife: "You painted the seat belt."
Me: "Uh, yeah. I guess I did..." |
So, I coated everything in paint. Nice, grey paint. I painted the steering wheel. Not the best idea, as it would most likely rub off in a day or two, but it was otherwise going to be a dark green, and not go with anything. And more likely than not, I was going to get whiffs of paint on it anyways, so why the hell not. My long term plan is to paint it black, or wrap it in something blackish. And then there were the ancient-in-dire-need-of-replacing canvas booties that cover the bottom of the shift level and the high/low transfer shifter. Both were cracked in a dozen places and impregnated in dust, and needed to be replaced. Knowing I was going to replace them, why not have them be coated in a loving canvas of attractive grey paint until then? Sure, the paint will crack some with use, but I was going to be replacing them any day now, so what did it matter? In my attempt to paint over the DynaMat, I can tell you don't. Not without priming. The nice silvery reflective background needs primer to take a layer of paint, otherwise it scratches at everything. This layer was just going to get some floor covering and a vinyl mat over it anyways, but hey - paint gun. And last, but not least, I managed to get the one of my seat belts as well. This is, of course, the very first thing my beloved wife noticed when I proudly dragged her out of the house for one of our "Hey honey, what do you think?" sessions. Within seconds she pointed to the seat belt and started laughing. I laughed too, because hell, what else could I do. She didn't know how lucky she was that I still didn't have my paint gun in my hands.
grin
So, with most everything I wanted (and a few extras thrown in) painted grey, I started doing the most enjoyable part of painting, ripping all of the masking tape and paper off. Off came the tape covering the gauges, off came the protective ads on the windows, off came the trash bags covering the seats! When it was left, it was looking pretty damn good, if not a little bit too grey in areas. Seemed much lighter in the cabin than in the van body, even though it was the same paint. I then started with Phase Two of the cabin face lift project - adding some sound insulating foam!

I had spent a ton of time removing a lot of the old foam from the walls and ceiling of the cabin, so now it was time to replace them with some nice acoustic deadening foam. The roof of a Deuce and a Half is typically a canvas affair, easily replaceable and capable of being taken on and off in a hurry. Luckily for me, mine had the hard top replacement done to it previous in its existence, and sported a nice weather proof metal skin. The hard top roof is held up by a series of braces on the inside, and there is about a 1" gap between these and the roof of the vehicle proper. These made great places to shove the ends of the newly cut acoustic foam to hold them in place. It also looked really good. So, I set about measuring the spaces that needed foam, then cutting appropriately sized pieces and stuffing them into place.

After I got most of the foam inserts in place, I then went and bought some spray on adhesive from the local hardware store. I had a choice between the normal strength stuff, and the super heavy duty stuff. I went with the normal stuff because of cost, and would learn to regret this decision later on. However, blissfully ignorant of my poor choice at the time, I returned home to the Car Destroyer and proceeded to carefully pull out the foam inserts, lightly spray the wall to tack them in, and then replace the foam. For the wall inserts this would be fine, as they supported themselves fairly well, stuffed in behind the support braces for the roof as they were. This seemed to work fairly well, and things were looking really nice. For the ceiling I first sprayed the back of the precut foam insert, and then also put a nice healthy coating on the roof as well. Then, with the help of a friend, I carefully got it into place and pressed it softly but firmly against the ceiling. It stuck right away, and I was really happy we hadn't been more than a fraction off when we pushed it into place, because it wasn't going anywhere after that (well, until the next day when I discovered the ceiling foam had fallen off in the middle of the night, but that is for another post!). Standing back, things were looking pretty damn good. Sure, I still had more work to do, such as the floor mats for the foot wells and so on, but the cabin had really started to take shape. Felt good - now it was time for a long hot shower to de-paintify and celebrate over a nice cool beer!
 |
| Looking pretty good! Sounding even better! |


 So I jumped right into it and instantly started... doing some more prep work. Apparently if you are going to paint anything at all, you need to spend about 90% of your time on the prep, and the actual painting is kind of an after thought, tacked on at the end. I knew this going into this project, it just always surprises me how much time it takes. There was nothing else to it though, so I pulled out some junk mail (those damn annoying special deal on food from your local Big Name Grocery Store mini news papers) and put them to good use - masking off my windows. I then went through and added masking tape over all of the instruments gauges as well, and over other things like the air horn button in the center of the steering wheel, and of course my air filter indicator at the bottom of the steering column.


 I had spent a ton of time removing a lot of the old foam from the walls and ceiling of the cabin, so now it was time to replace them with some nice acoustic deadening foam. The roof of a Deuce and a Half is typically a canvas affair, easily replaceable and capable of being taken on and off in a hurry. Luckily for me, mine had the hard top replacement done to it previous in its existence, and sported a nice weather proof metal skin. The hard top roof is held up by a series of braces on the inside, and there is about a 1" gap between these and the roof of the vehicle proper. These made great places to shove the ends of the newly cut acoustic foam to hold them in place. It also looked really good. So, I set about measuring the spaces that needed foam, then cutting appropriately sized pieces and stuffing them into place.
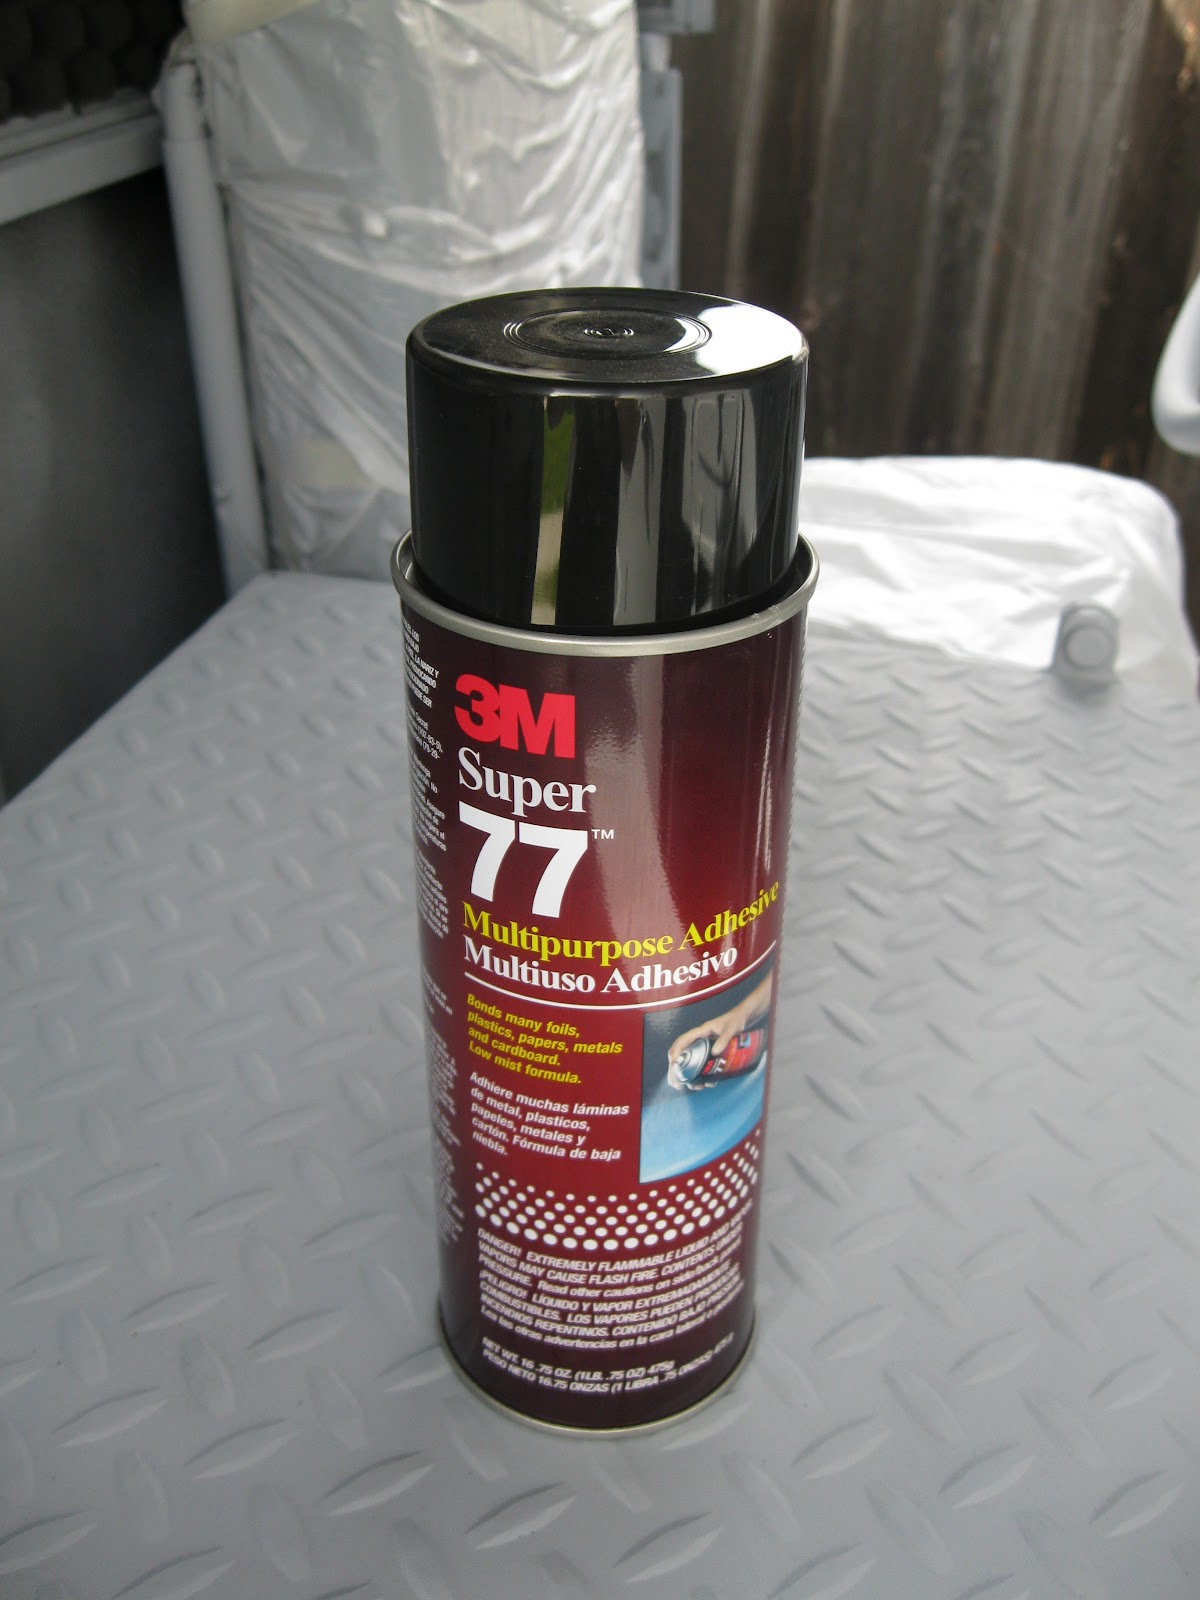 After I got most of the foam inserts in place, I then went and bought some spray on adhesive from the local hardware store. I had a choice between the normal strength stuff, and the super heavy duty stuff. I went with the normal stuff because of cost, and would learn to regret this decision later on. However, blissfully ignorant of my poor choice at the time, I returned home to the Car Destroyer and proceeded to carefully pull out the foam inserts, lightly spray the wall to tack them in, and then replace the foam. For the wall inserts this would be fine, as they supported themselves fairly well, stuffed in behind the support braces for the roof as they were. This seemed to work fairly well, and things were looking really nice. For the ceiling I first sprayed the back of the precut foam insert, and then also put a nice healthy coating on the roof as well. Then, with the help of a friend, I carefully got it into place and pressed it softly but firmly against the ceiling. It stuck right away, and I was really happy we hadn't been more than a fraction off when we pushed it into place, because it wasn't going anywhere after that (well, until the next day when I discovered the ceiling foam had fallen off in the middle of the night, but that is for another post!). Standing back, things were looking pretty damn good. Sure, I still had more work to do, such as the floor mats for the foot wells and so on, but the cabin had really started to take shape. Felt good - now it was time for a long hot shower to de-paintify and celebrate over a nice cool beer!
Very Awesome Story!! Keep it up. Love the pictures and captions.
ReplyDelete